Backup Virtual Machines
Since release 1.5 it is possible to back up and restore Virtual Machines. This feature can be used to recover deleted machines, restore contents after changes and even to migrate machines to another server.
The backup and restore procedures must be used from the command line.
Synopsis
sudo rvd_back --backup machine1
sudo rvd_back --restore /var/lib/libvirt/images/backup/machine1-2022-04-06.tgz
Backup
Perform the backup calling the rvd_back tool with the names of all the virtual machines you want to backup.
sudo rvd_back --backup machine1 machine2 ... machineN
Clones and bases
Only the files and definitions are stored in the backup file. If you want to backup a clone and you want to make sure you can restore it correctly, do a backup of the parent base too.
sudo rvd_back --backup base clone1 clone2 ...
Owner
Information and metadata of the virtual machine is backed up too. If you ever removed the owner but you restore the virtual machine later, the user information such as name and password will be restored too.
Restore
To restore a Virtual Machine you must pass the path of the filename where the compressed backup has been stored.
sudo rvd_back --restore /var/lib/libvirt/images/backup/machine1-2022-04-06.tgz
If Ravada detects this virtual machine is already there it will ask for confirmation. Metadata and user information will be restored along with filesystem contents.
Migration to another server
The backup file can be used to migrate the virtual machine to another Ravada server.
Follow these steps:
Create a new clone

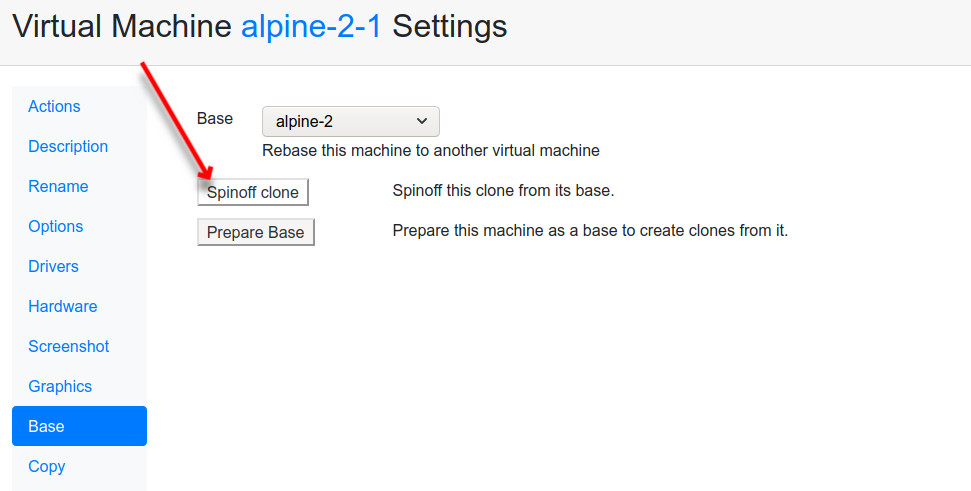
Spinoff the clone
Select the clone you just created in the admin machines page, and in the base tab click on spinoff.
Verify the Storage
The volume files may point to a storage pool that does not match in the new server. You can move the volume files to a more standard storage pool
Go to the virtual machine settings, click on hardware, then review each file storage.

Select all the storage volumes and check if the storage pool is correct for the new server. You may want to change the storage, click on the pencil next to the storage pool name to move the volume.

Perform the backup
sudo rvd_back --backup ubuntu-0
Copy the result tgz file to the other server
sudo bash
rsync -avP /var/lib/libvirt/images/backup/ubuntu-0-2022-04-06.tgz frankie@:server_dst:
Restore
sudo rvd_back --restore /home/frankie/ubuntu-0-2022-04-06.tgz
Owner users will be created in the new virtual machine if they don’t exist. The users will be assigned regular user permissions. Specially granted privileges or administration roles must be set up manually after restoring.
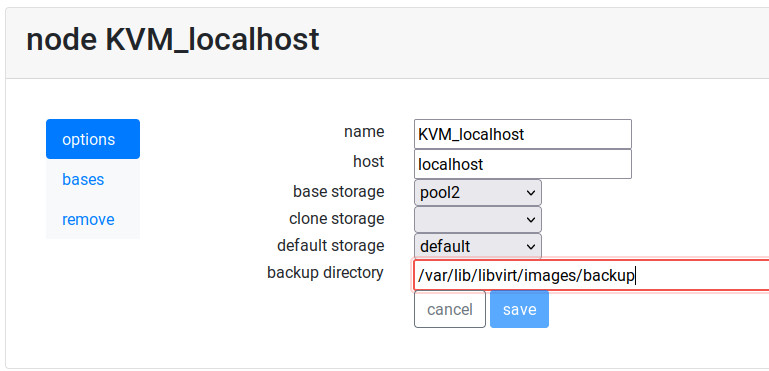
Backup directory
The default backup directory will be the folder backup inside the default storage pool. In most systems that will be located at: /var/lib/libvirt/images/backup. You can set another directory from the Node Management menu in the frontend: go to Admin Tools and select Nodes, then in KVM_localhost change the backup directory and save it.