Ravada advanced settings
Display IP
On a server with many IP address, the configuration file allows the administrator define which one is used for the display. Change the field display_ip in the Virtual Managers (VMs) table. Set there the public address of the server.
Tip
With recent releases of ravada this shouldn’t be necessary. Ravada uses the routing table from the server and sets the display IP from there.
If you want to force the display IP do it this way:
For Ravada 0.9 and older set it at /etc/ravada.conf:
display_ip: public.display.ip
Since Ravada 0.10 you have to change it in the database:
mysql -u rvd_user -p ravada
mysql> select id,name,display_ip from vms;
+----+---------------+-----------------+
| id | name | display_ip |
+----+---------------+-----------------+
| 1 | KVM_localhost | |
| 2 | barrufet | |
+----+---------------+-----------------+
mysql> UPDATE vms set display_ip='1.1.1.44' where id=1;
mysql> UPDATE vms set display_ip='1.1.1.55' where id=2;
NAT
The Ravada server can be behind a NAT environment. So the public address the client gets may not be the one configured in the Ravada server interface. You need to tell Ravada this IP. Then it will be shown to the end users for their client connection.
Example:
    _______
___|_RVD   |_______________ NAT ________________ client
   | Server|10.0.0.44             2.2.2.55
   |_______|
By default, the IP that is shown to the users will be 10.0.0.44 , but it is not accessible from outside.
For Ravada 0.9 and older set it at /etc/ravada.conf:
nat_ip: the.external.ip.address
Since Ravada 0.10 you have to change it in the database:
You must configure the NAT IP in the Virtual Managers (VMs) table.
mysql -u rvd_user -p ravada
mysql> select id,name,nat_ip from vms;
+----+---------------+-----------------+
| id | name          | nat_ip          |
+----+---------------+-----------------+
|  1 | KVM_localhost |                 |
+----+---------------+-----------------+
mysql> UPDATE vms set display_ip='2.2.2.55' where id=1;
If you have more nodes, each one probably will have its own public NAT IP. Set each one of them in the same way you set for the main node or Virtual Manager.
Auto Start
Virtual machines can be configured to start automatically when the physical host boots.
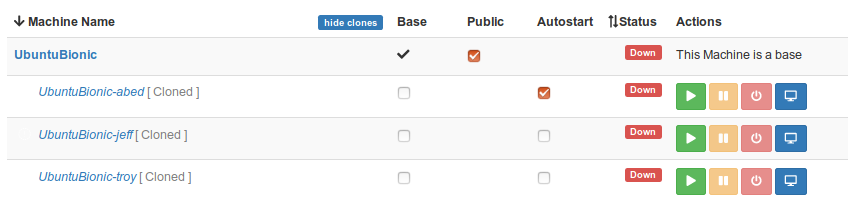
You can enable the auto start column at the frontend configuration file at /etc/rvd_front.conf . Reboot the frontend with systemctl restart rvd_front to display the changes.
/etc/rvd_front.conf

{
    admin => {
        autostart => 1
    }
};
Choosing Storage Pool
Default Storage Pool
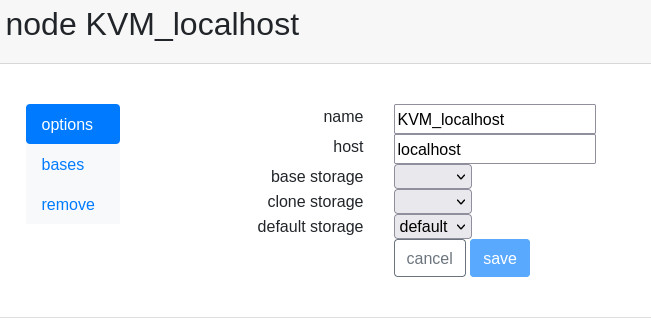
When creating virtual machines, Ravada chooses the storage pool with more free space available. If you want to force another, change it in the Nodes setting form in the frontend.
From Admin Tools, select Nodes. You will likely have only one : KVM_localhost.
It may take a while to refresh this setting. Restart rvd_back running systemctl restart rvd_back if you want it applied right away.
Specific Storage Pools
Specific storages for bases and clones can be defined. This way you can use small and fast disk drives for bases and big but slower disks for clones.
Warning
If you set base and clone storages here, the default storage setting is ignored.
Add and define the storage pools as described in the add kvm storage pool manual. Then change the values in the node options screen.
Warning
These changes will apply to new virtual machines. Old virtual machines have already the disk volumes defined and can’t be easily changed.
Chek free memory ( from v0.3 )
Before start the domain, free memory of the Virtual Manager can be checked. This feature is only available in the development release.
First check the id field of the Virtual Manager in the table vms, then set the minimun of free available memory. In this example we require a minimun of 2 GB free:
mysql -u rvd_user -p ravada
mysql> select * from vms;
mysql> update vms set min_free_memory=2000000 where id=*id*;